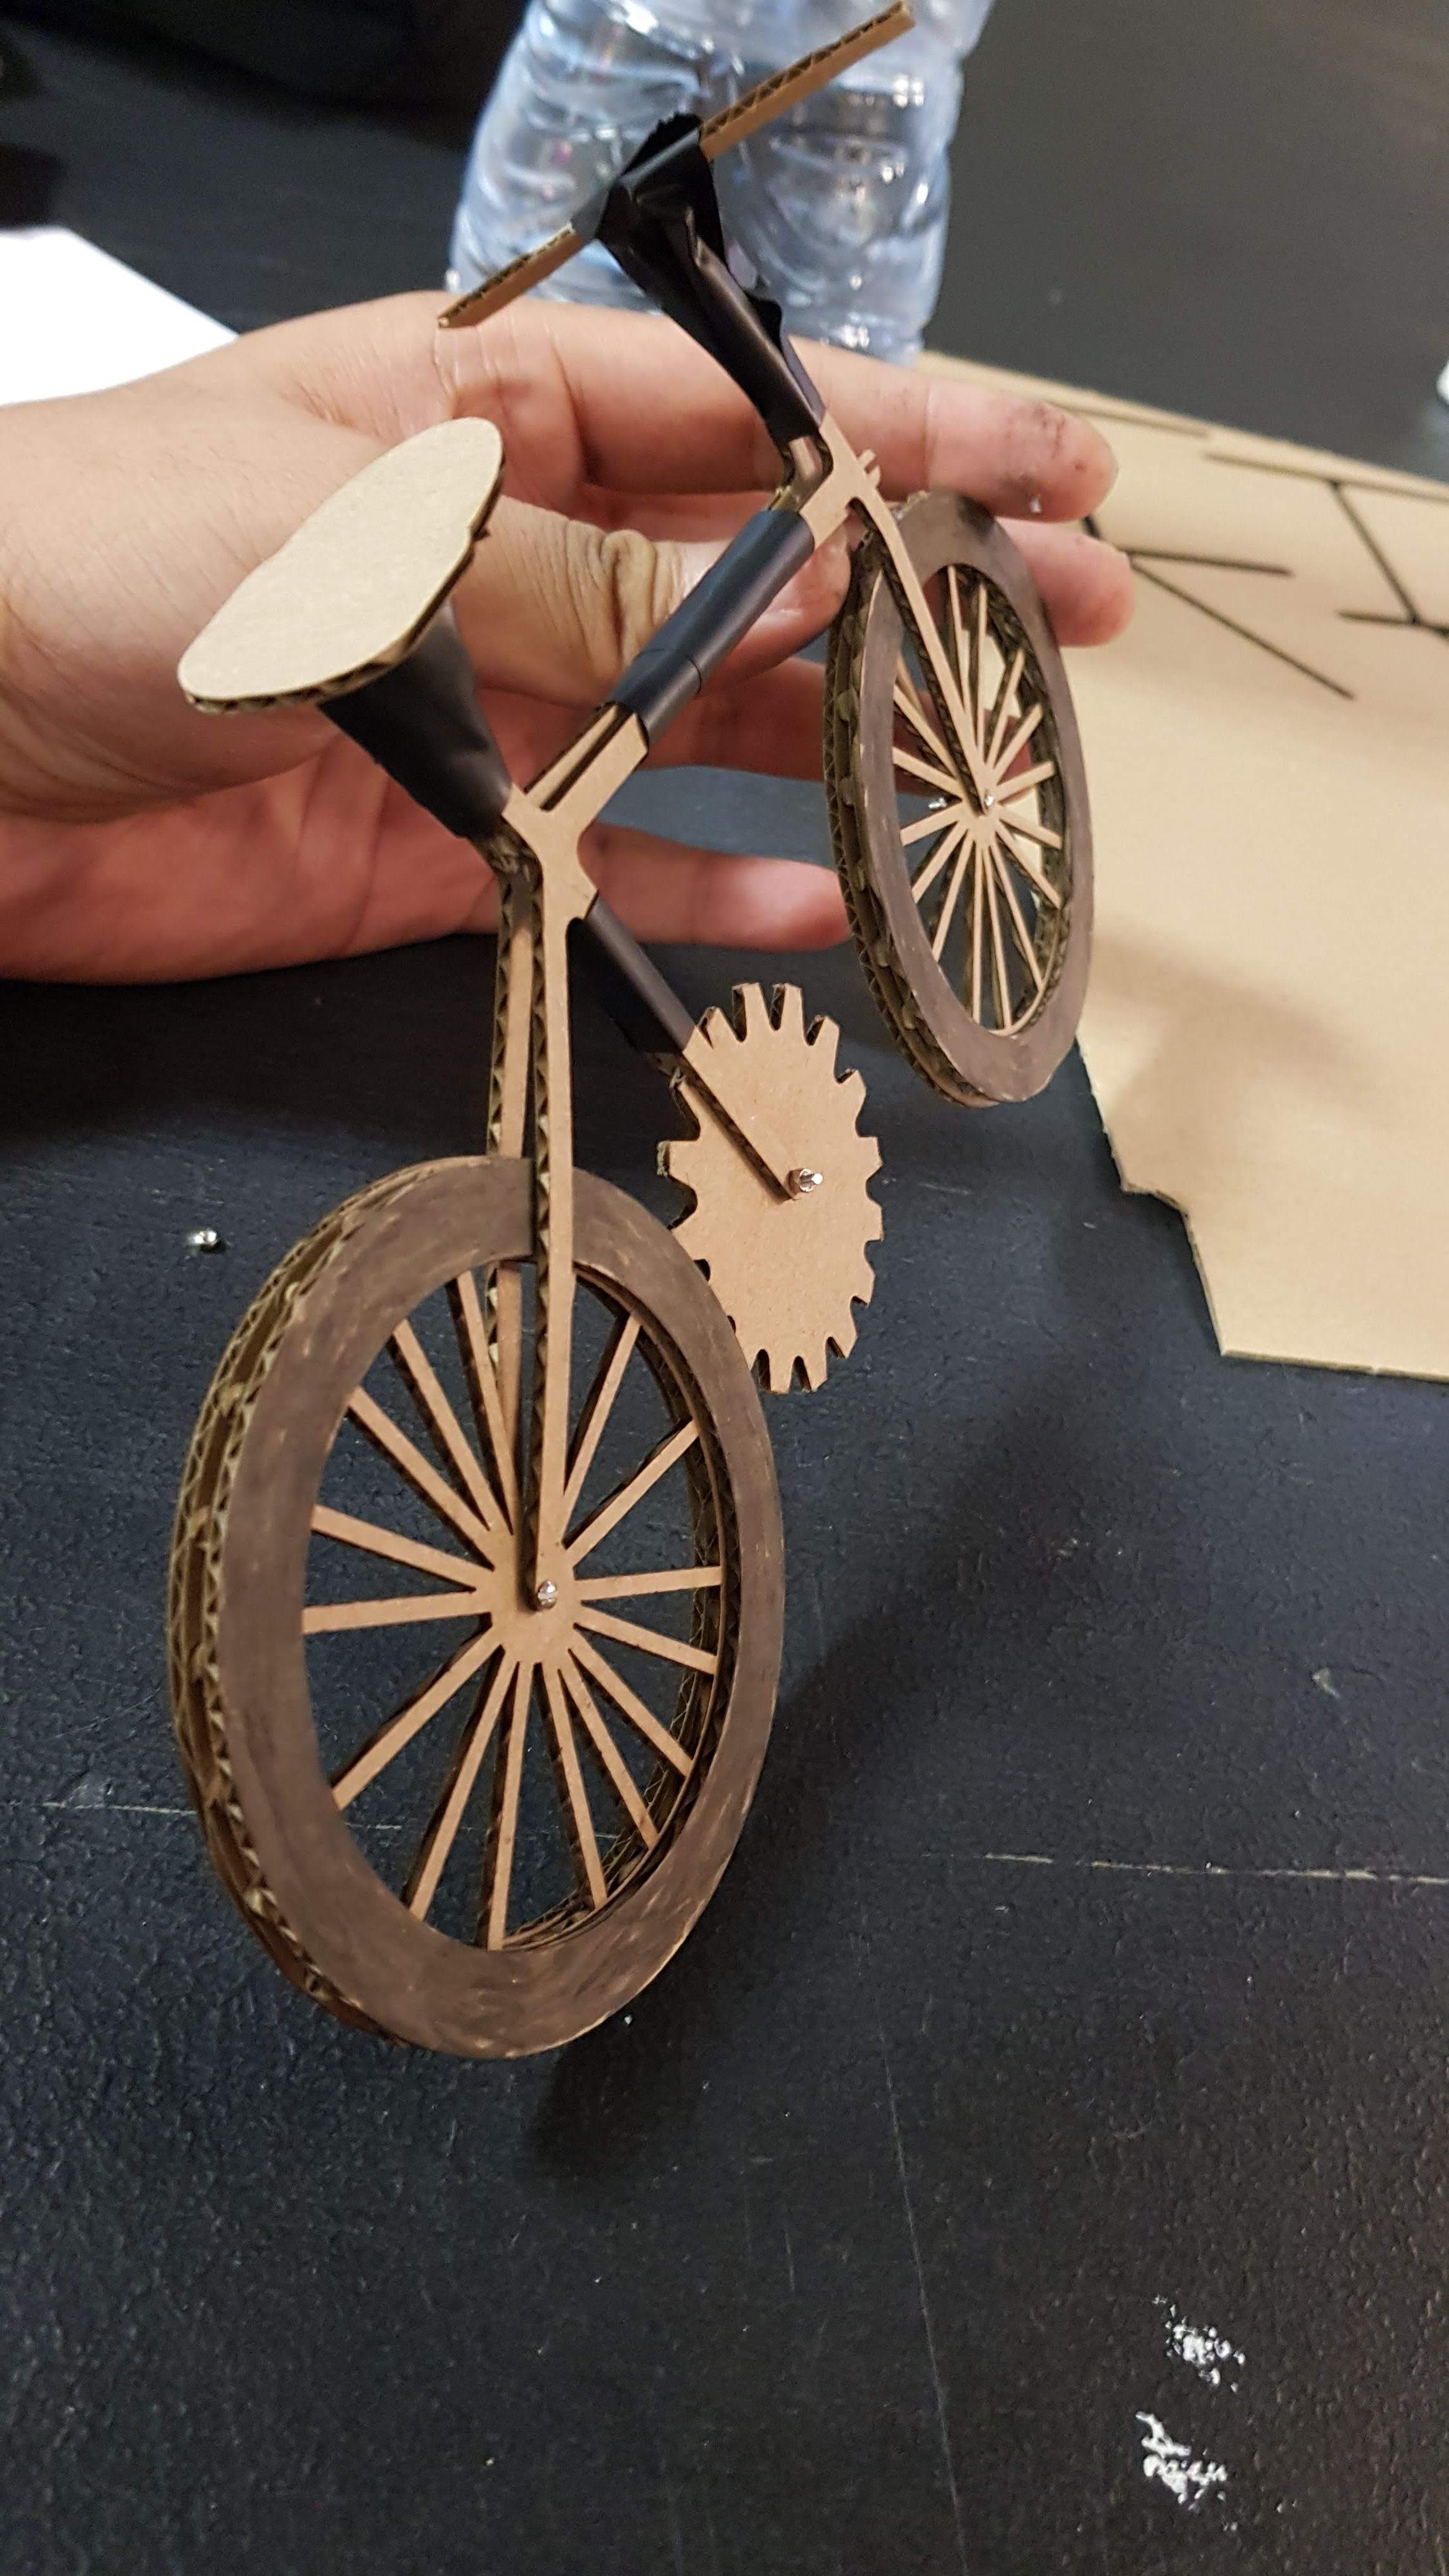
So I decided I want to make a bicycle, but I didn’t know how a bike worked and what exactly each component looked like. Cardboard was the material I chose to use because of its availability as it can be easily found in scraps so I’d be able to do many retries with the laser cutter.
My first step was to research on bicycles:
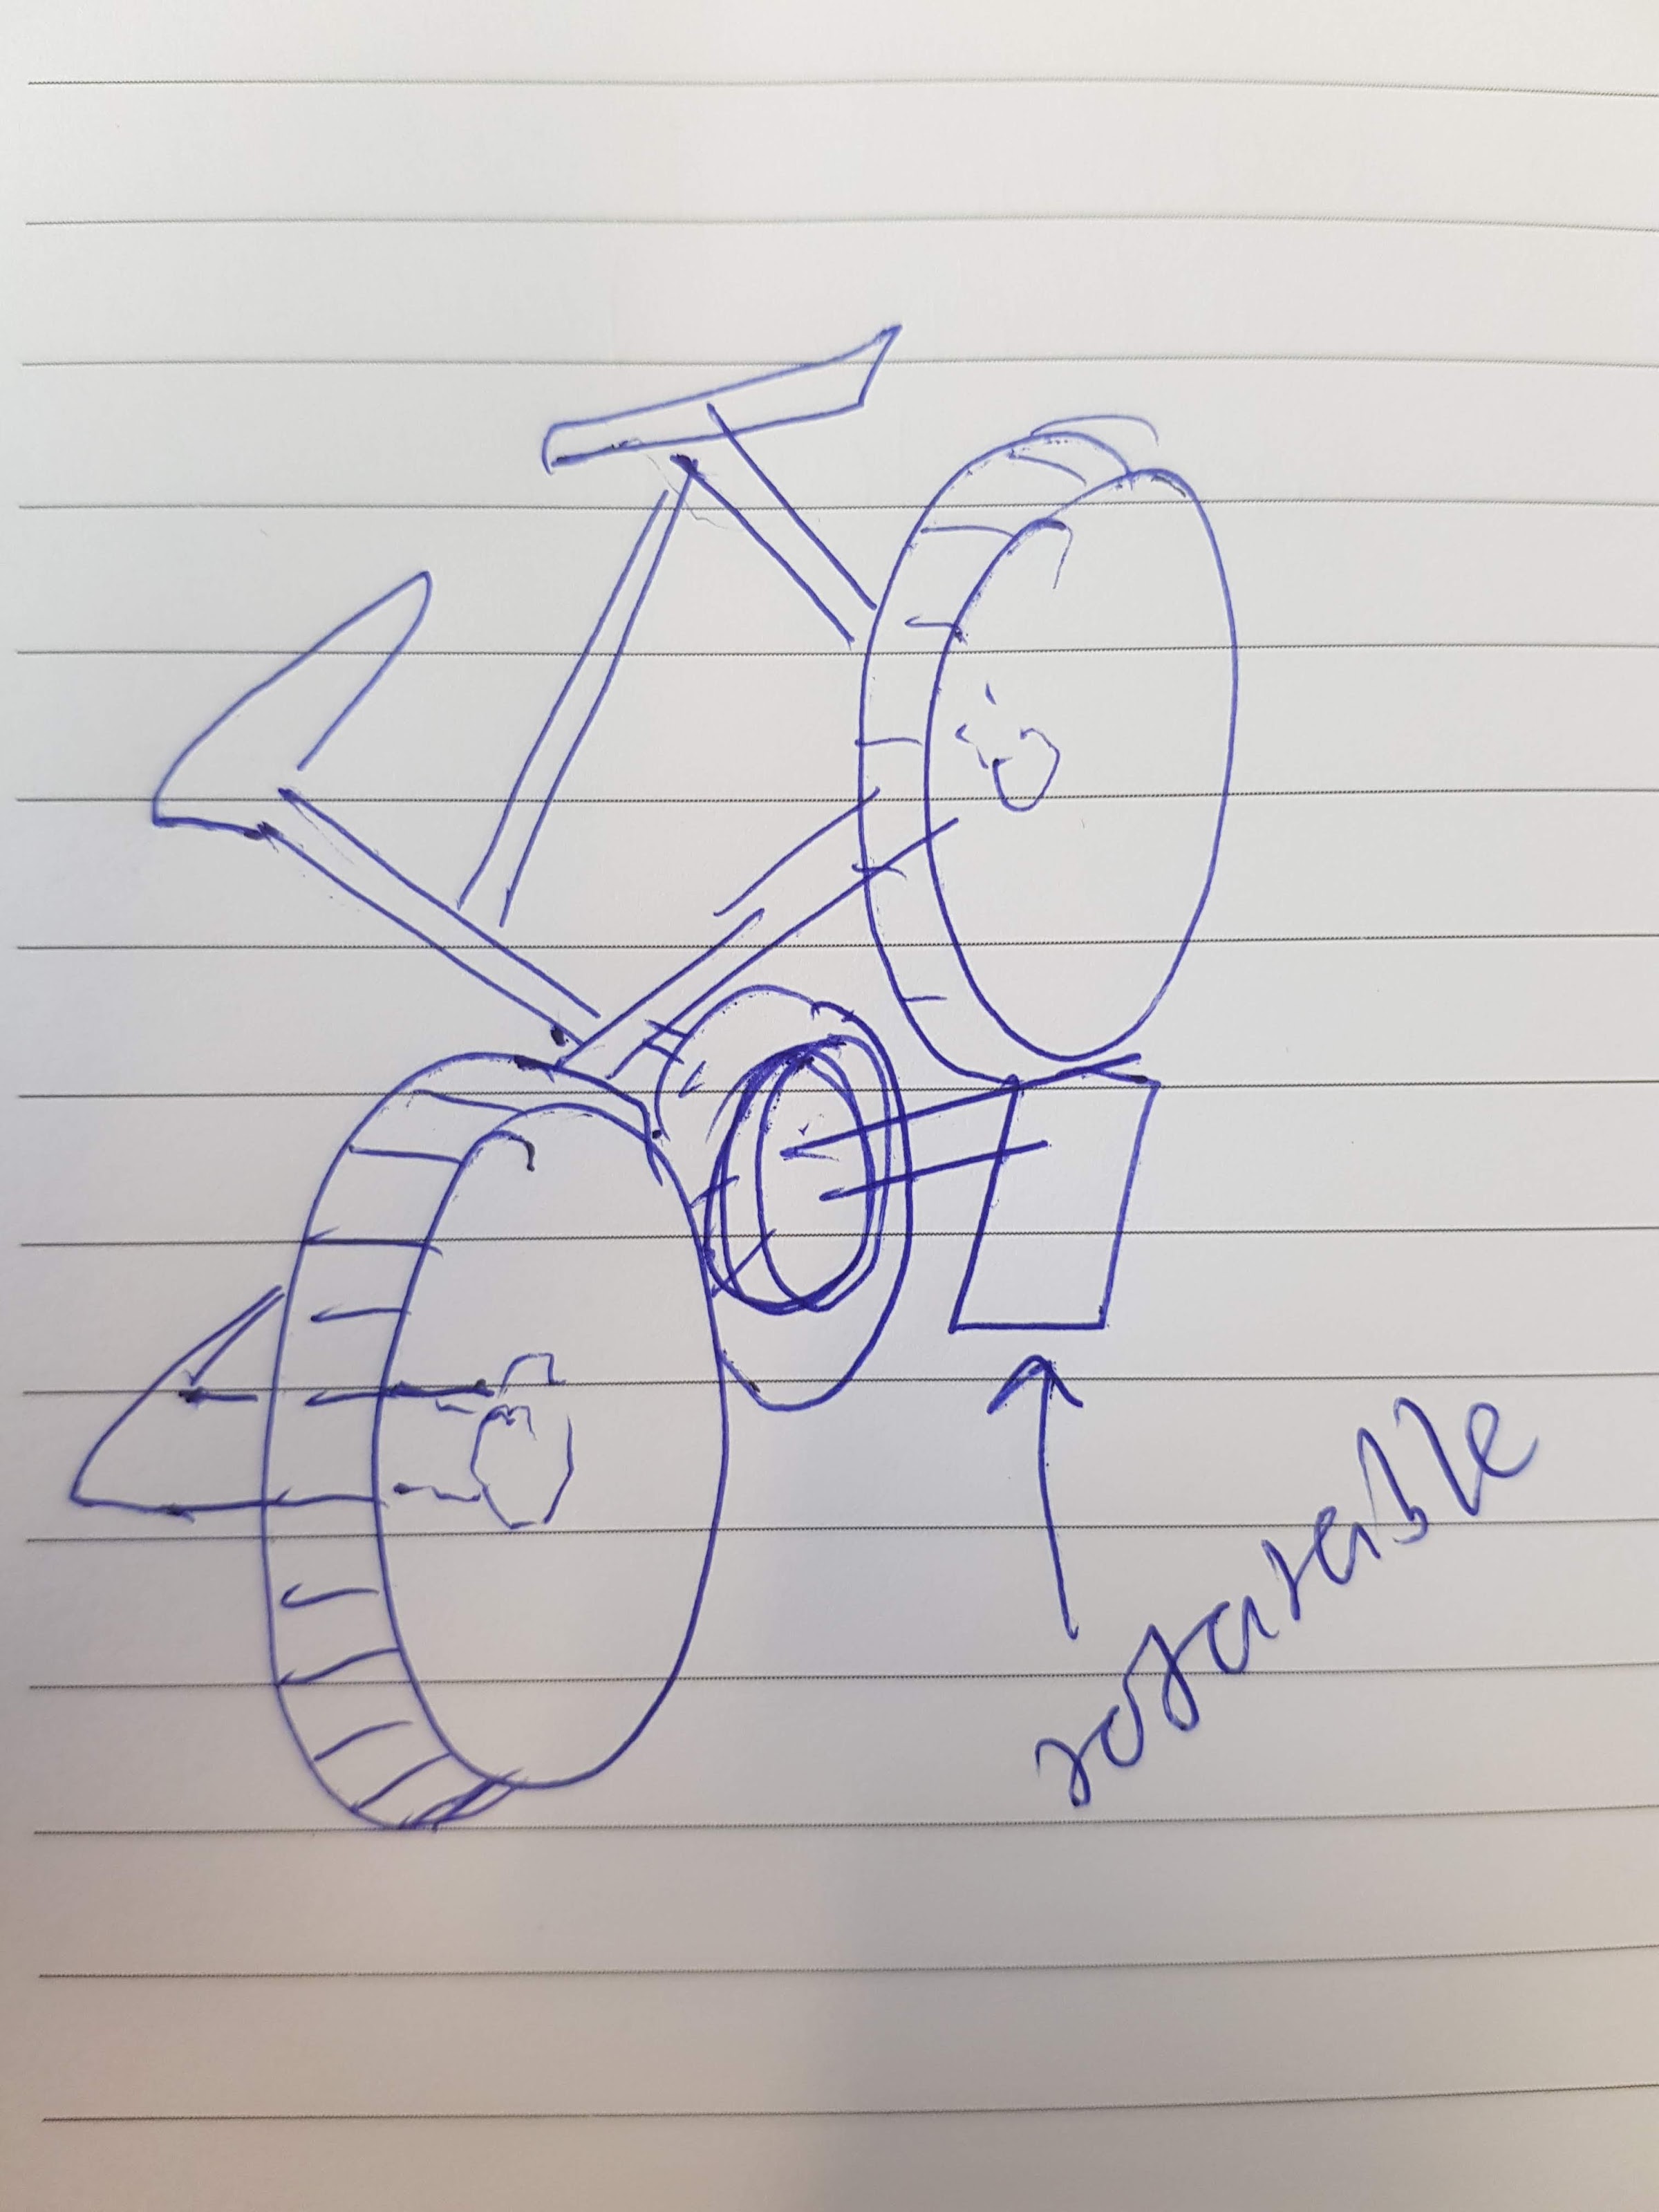
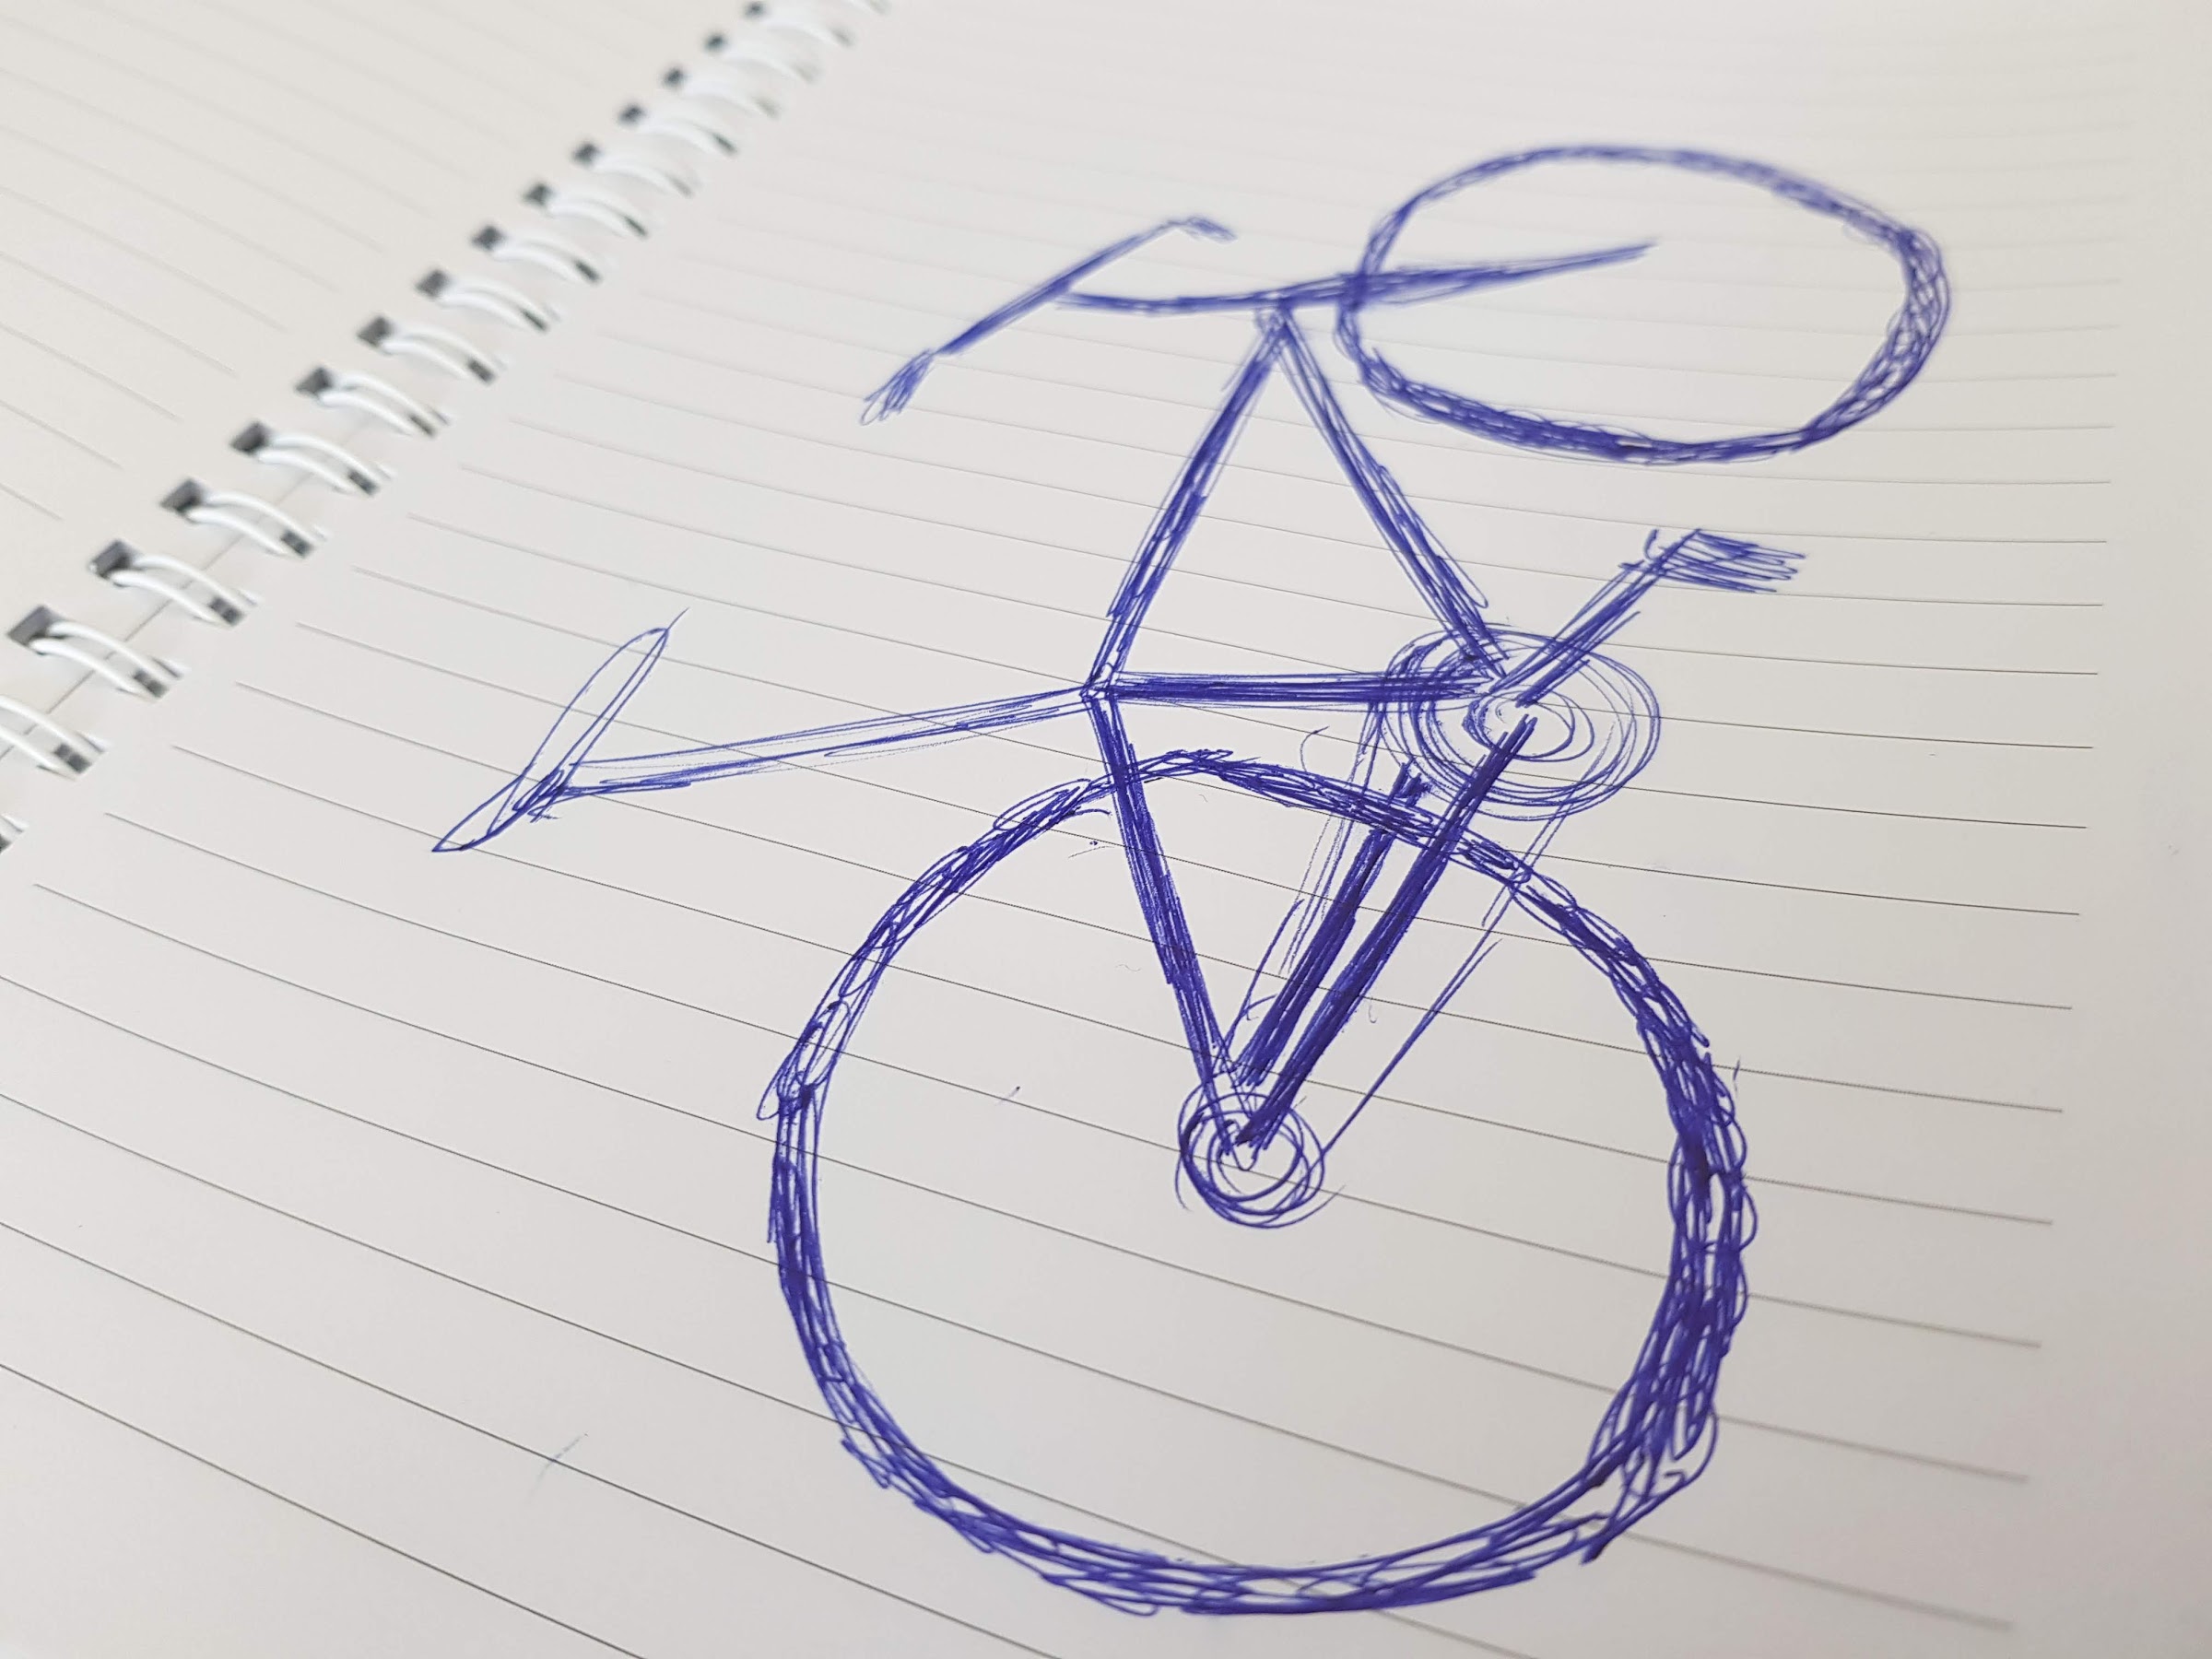
Turns out, figuring out the different parts and components of a bicycle was harder than I thought. I started by drawing some sketches:
|
|
I started working on designing the parts on Adobe Illustrator, specifically the cogs that connect the wheels of the bicycle to the pedal cog. I, ‘tested’ them by putting them close to each other in the drawing and rotating one cog using the rotation tool to see how it would work.
I then improved the design of the wheels to make it actually look like a bicycle would.
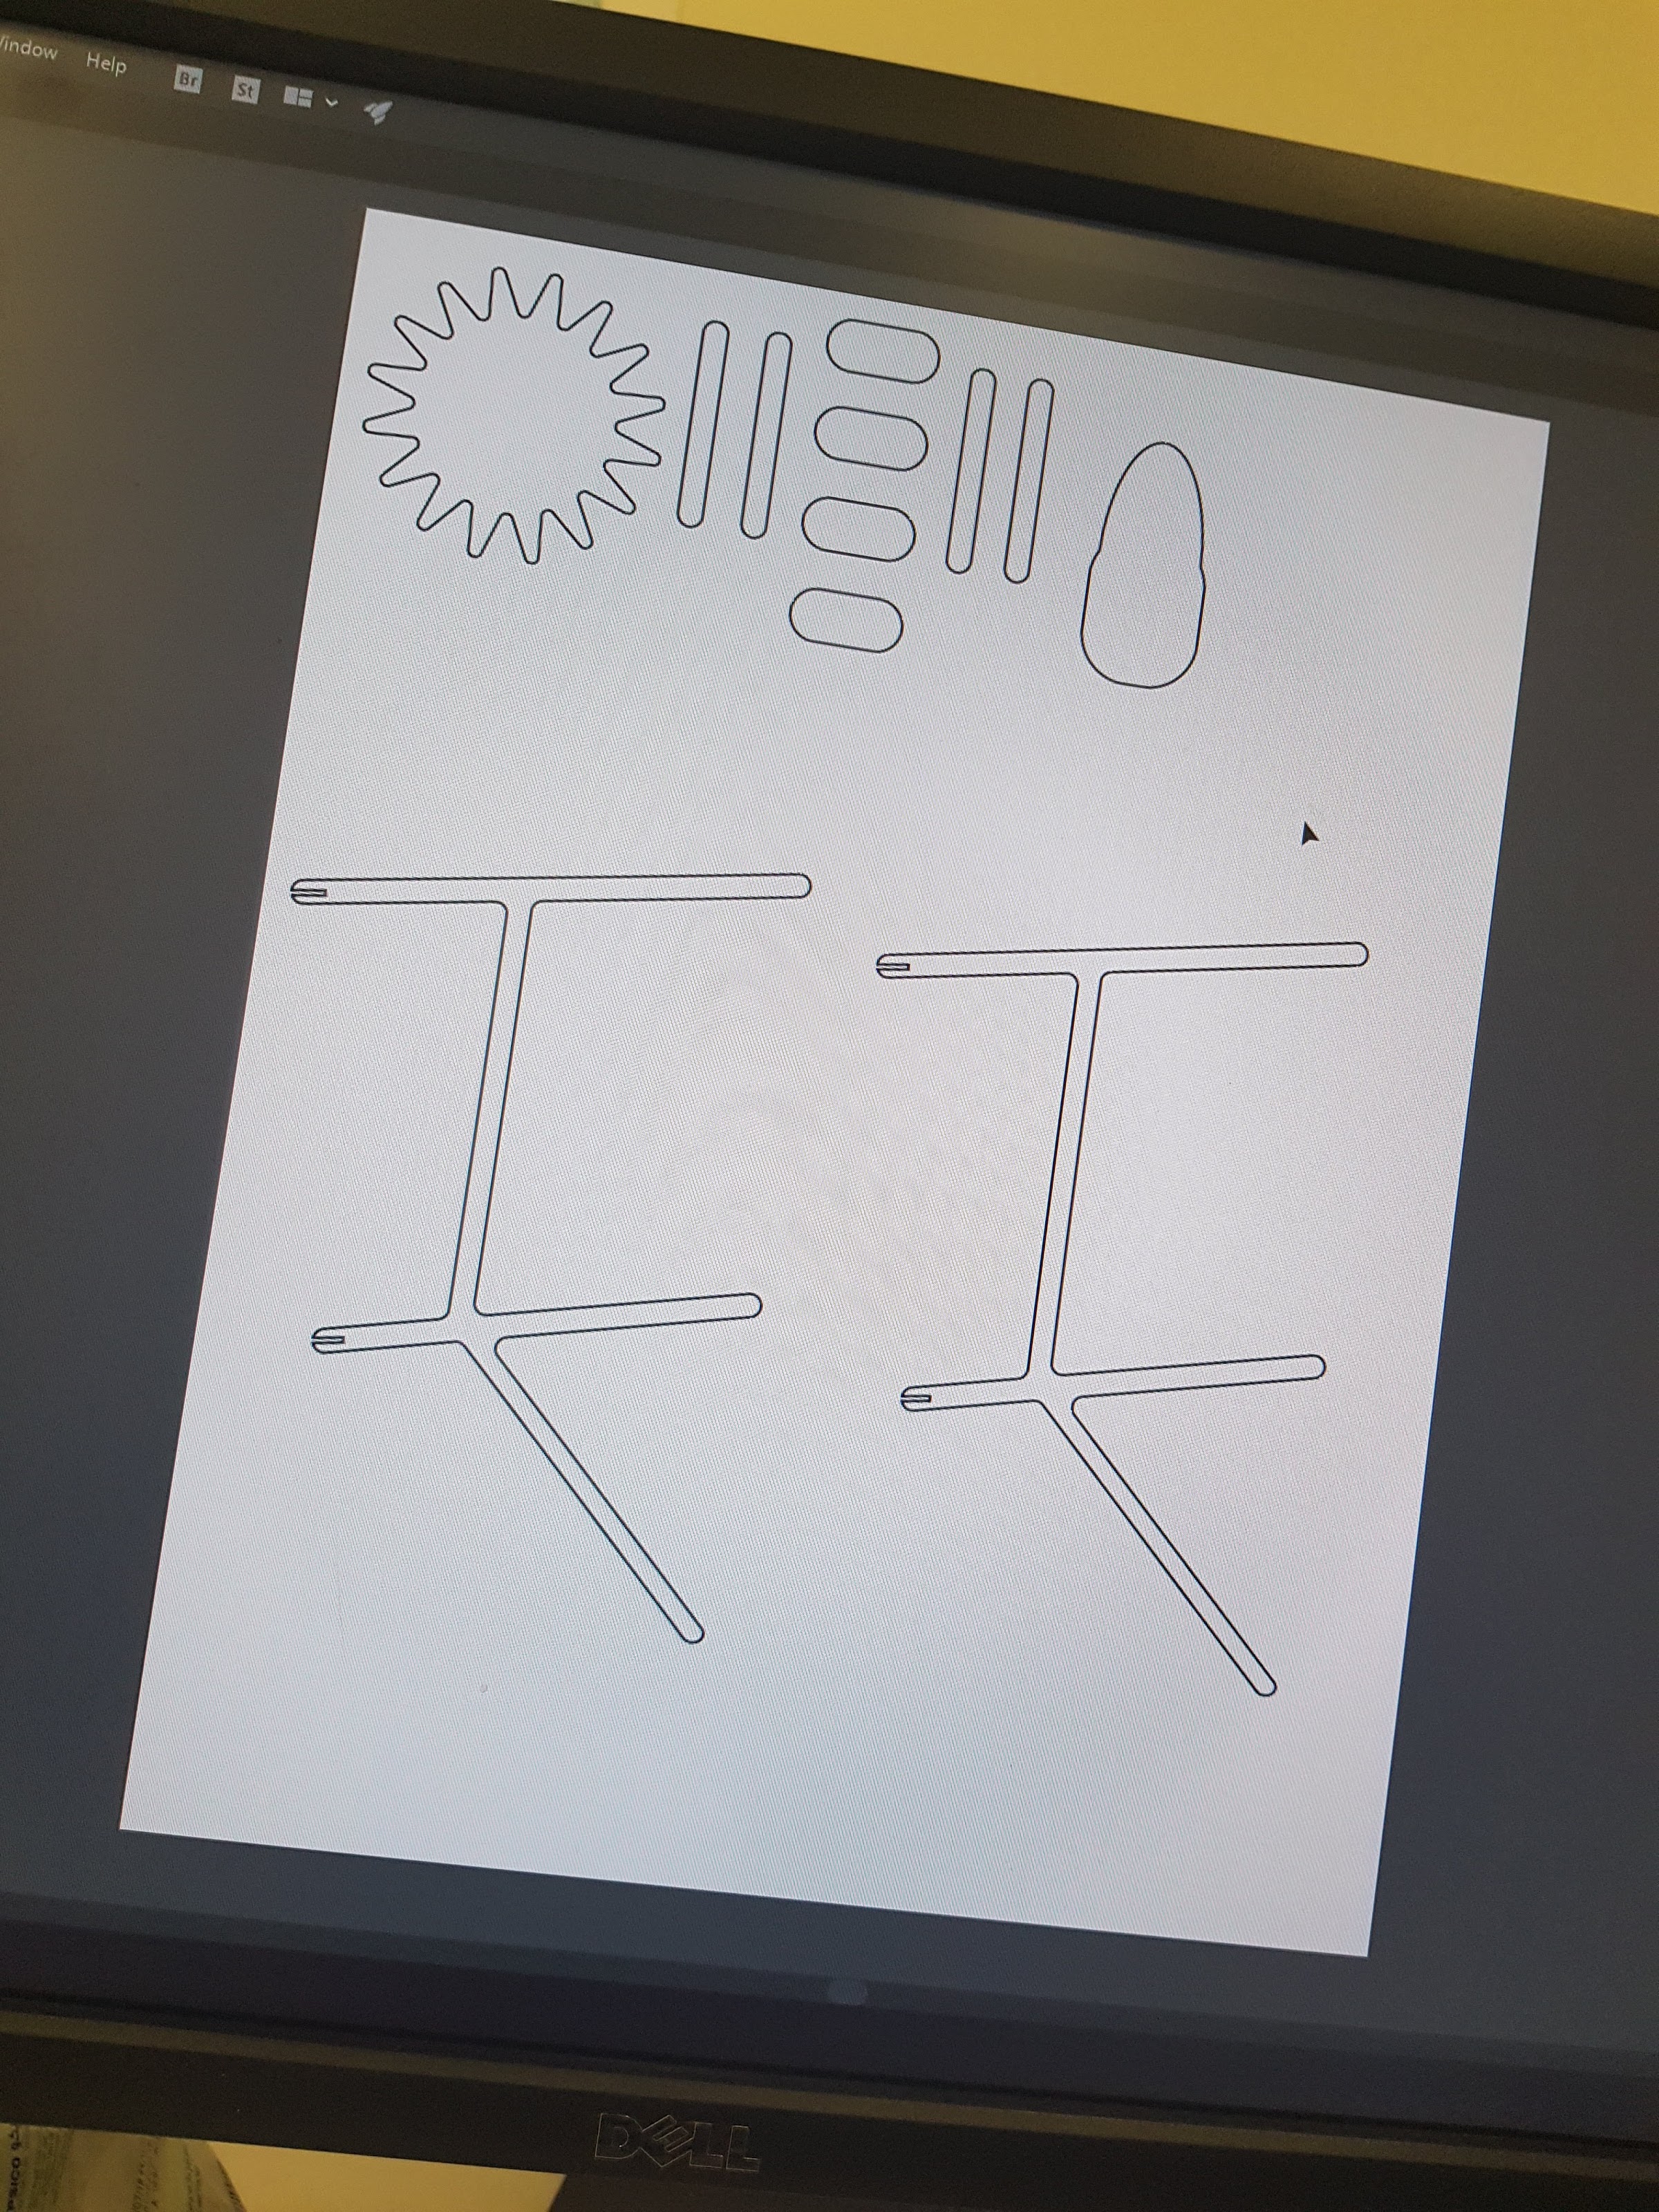
|
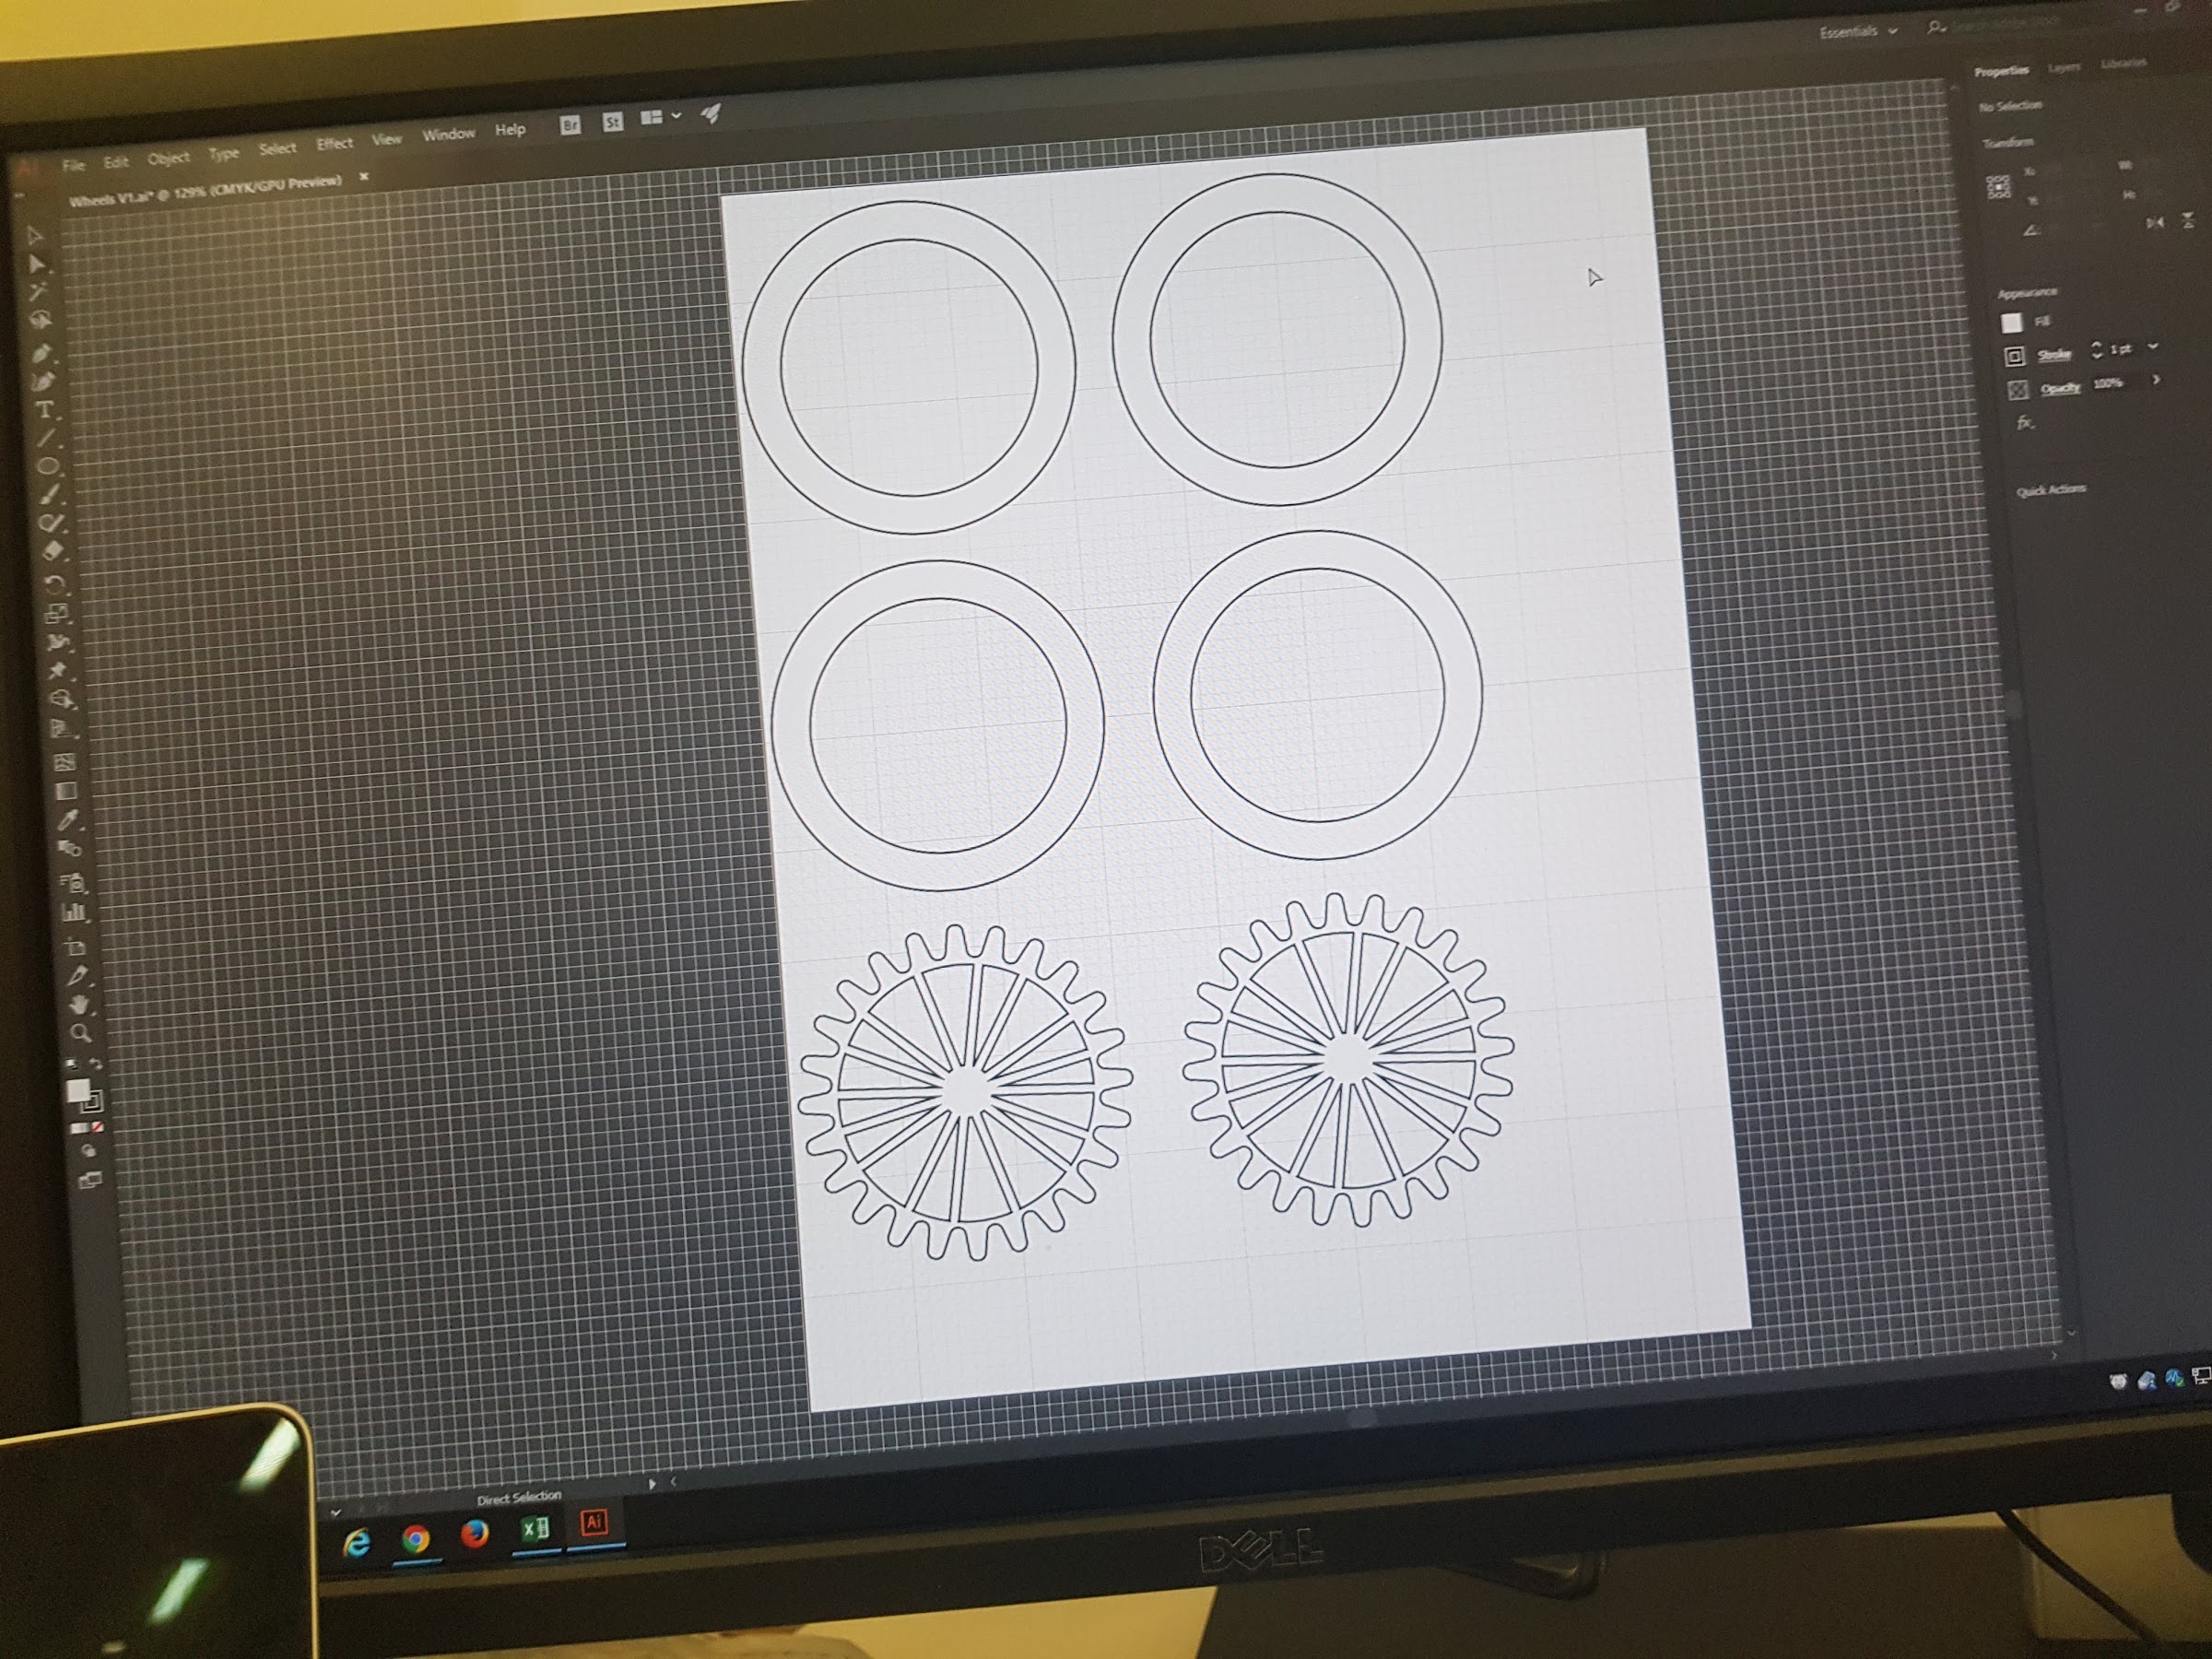
|
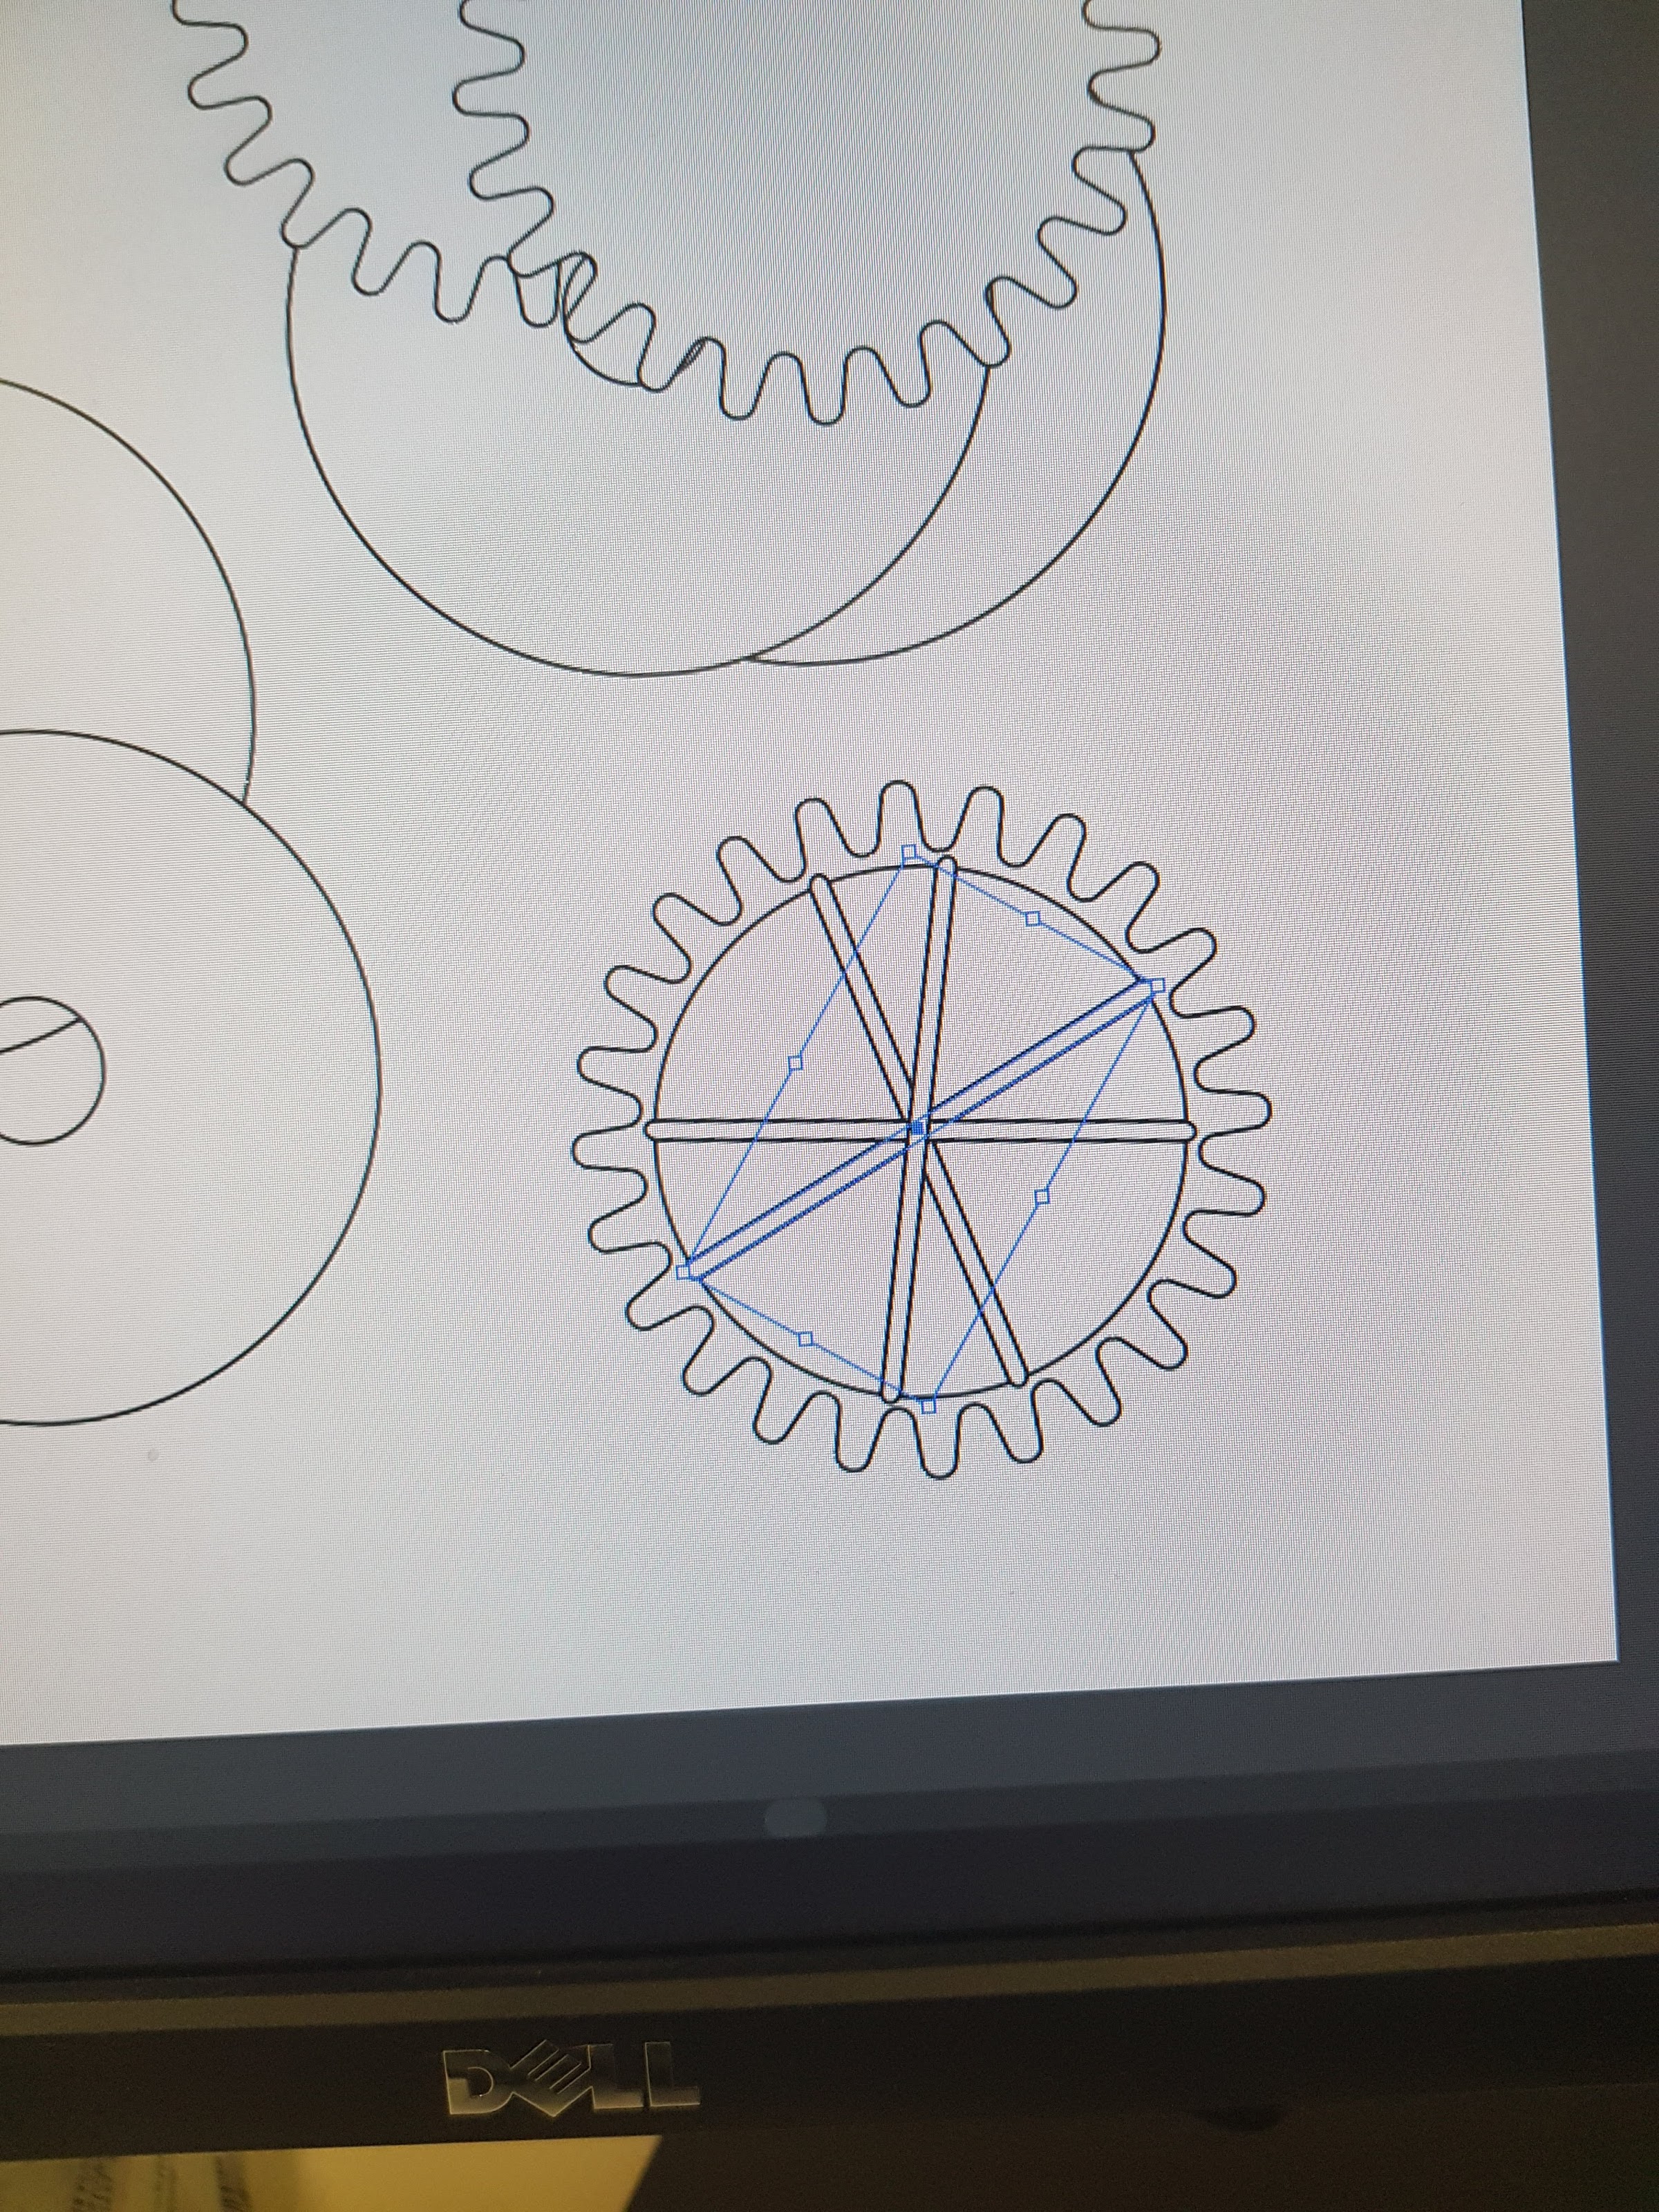
|
The next step was to laser cut! I had to undergo a training session to learn about safety measures such as cleaning the lenses and also how to optimize the illustrator settings for the best laser cut.
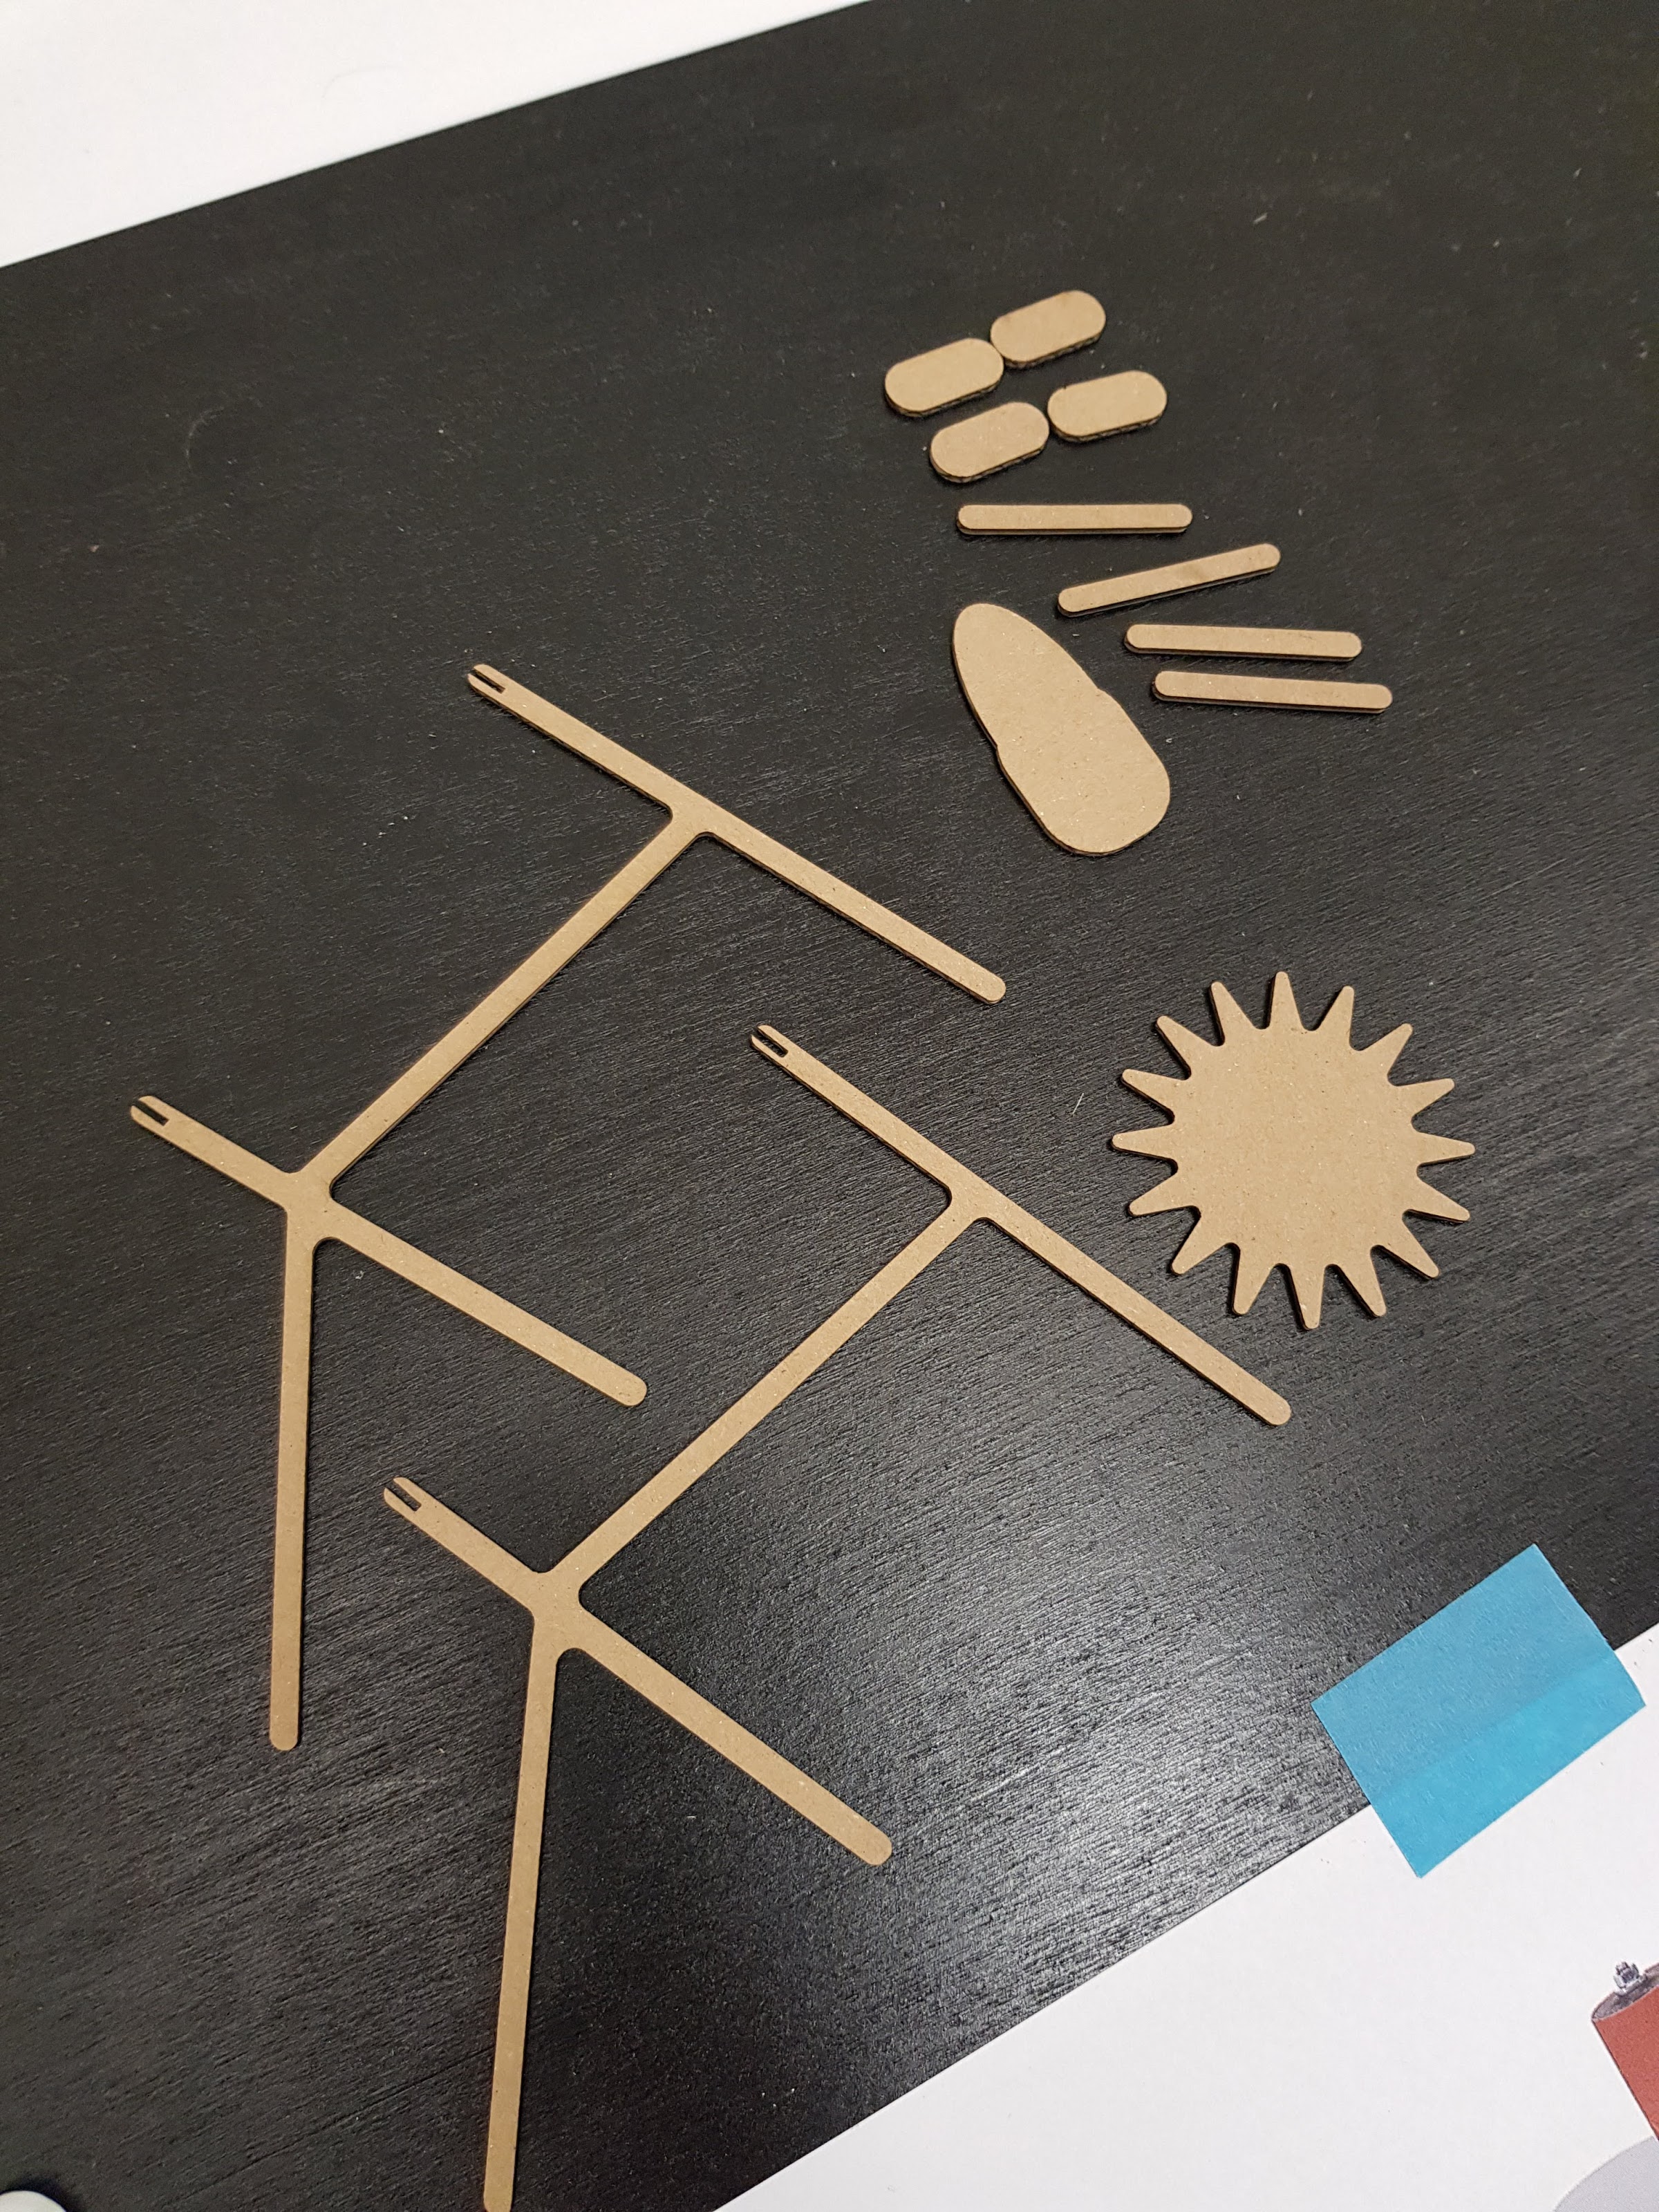
Putting it all together with some watch screws and tape and we get:
